DIY Chemical Peel: Transform Your Skin From Home
DIY chemical peel has become an increasingly popular trend for individuals who want to improve their skin's appearance without visiting a dermatologist. This cost-effective and convenient method allows you to achieve professional-grade results in the comfort of your home. However, before diving into the world of at-home chemical peels, it's essential to understand the process, benefits, risks, and how to perform it safely.
As skincare enthusiasts continue to explore various treatments, DIY chemical peels have emerged as a viable option for those looking to combat issues such as acne scars, hyperpigmentation, fine lines, and uneven skin tone. With the right knowledge and preparation, you can effectively rejuvenate your skin using products available in your own home.
In this comprehensive guide, we'll delve into everything you need to know about DIY chemical peels, including step-by-step instructions, recommended ingredients, safety precautions, and expert tips. Whether you're a beginner or an experienced skincare enthusiast, this article will equip you with the tools to achieve healthier, glowing skin.
- Wedding Ben Falcone
- Shoulder Length Black Hair With Layers
- Vivaia Discount
- Nails Fall 2024
- Women S Perfume For Summer
Table of Contents
- Introduction to DIY Chemical Peel
- Benefits of DIY Chemical Peel
- Types of Chemical Peels
- How to Prepare for a DIY Chemical Peel
- Step-by-Step Guide to DIY Chemical Peel
- Common Ingredients for DIY Chemical Peel
- Safety Precautions
- Potential Risks and Side Effects
- Tips for Best Results
- Frequently Asked Questions
Introduction to DIY Chemical Peel
A DIY chemical peel involves applying a solution containing mild acids to the skin, which helps remove the outer layer of dead skin cells, revealing smoother and brighter skin underneath. This treatment is particularly effective for addressing common skin concerns such as acne scars, sun damage, and uneven pigmentation.
Unlike professional chemical peels, which are performed by licensed dermatologists or skincare professionals, DIY chemical peels offer a more accessible and budget-friendly alternative. However, it's crucial to approach this method with caution and follow proper guidelines to avoid adverse effects.
Benefits of DIY Chemical Peel
There are numerous benefits to incorporating a DIY chemical peel into your skincare routine:
- Christina Applegate House
- What Is The Door Test
- Tasman X Uggs
- Blonde Hair For Short Hair
- Bella Thorne Cuban
- Improves skin texture and tone
- Reduces fine lines and wrinkles
- Fades hyperpigmentation and dark spots
- Minimizes the appearance of acne scars
- Unclogs pores and reduces blackheads
By regularly performing DIY chemical peels, you can enhance your skin's overall health and appearance, achieving a more radiant complexion.
Types of Chemical Peels
Superficial Peels
Superficial peels are the mildest form of chemical peels, penetrating only the outermost layer of the skin. They are ideal for addressing minor skin imperfections such as mild discoloration and rough texture.
Medium Peels
Medium peels penetrate deeper into the skin, targeting issues like moderate photoaging and acne scars. These peels require more downtime and may cause temporary redness or peeling.
Deep Peels
Deep peels are the most intense and are typically performed by professionals. They can significantly improve severe skin damage but come with a higher risk of complications. DIY chemical peels generally fall under the superficial or medium categories.
How to Prepare for a DIY Chemical Peel
Proper preparation is key to ensuring a successful DIY chemical peel experience. Follow these steps:
- Cleanse your face thoroughly to remove dirt, oil, and makeup.
- Exfoliate gently a few days before the treatment to remove dead skin cells.
- Perform a patch test on a small area of your skin to check for any adverse reactions.
- Ensure you have all necessary supplies, such as gloves, cotton pads, and aloe vera gel for soothing the skin afterward.
By taking the time to prepare, you can minimize the risk of irritation and achieve better results.
Step-by-Step Guide to DIY Chemical Peel
Here's a detailed guide on how to perform a DIY chemical peel:
- Wash your face with a gentle cleanser and pat it dry.
- Put on gloves to protect your hands from the chemicals.
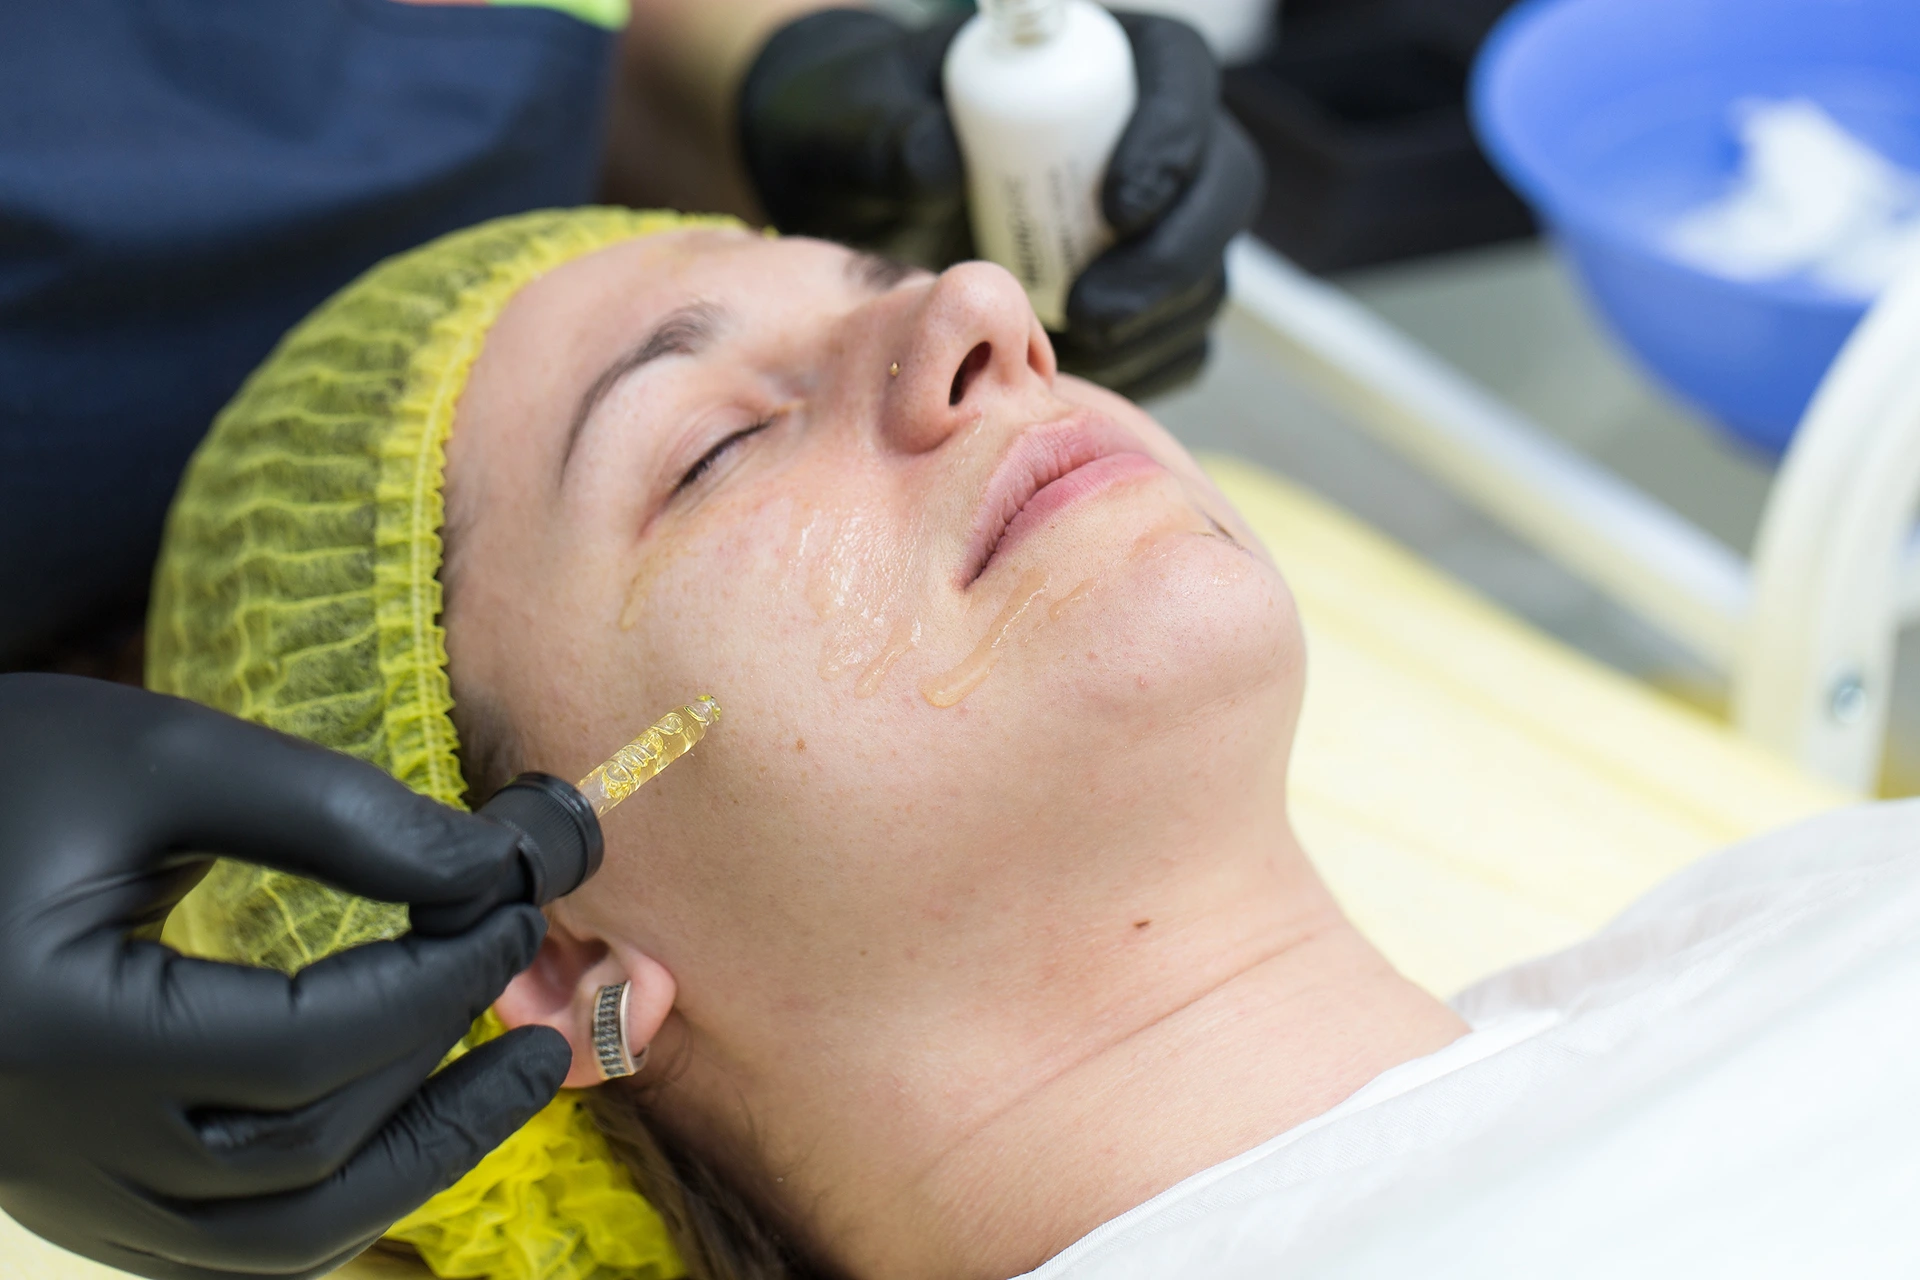
- Apply the chemical peel solution evenly across your face, avoiding the eye area.
- Allow the solution to sit on your skin for the recommended time, usually between 5-10 minutes.
- Rinse your face with lukewarm water and gently pat it dry.
- Apply a soothing moisturizer or aloe vera gel to calm the skin.
Following these steps carefully will help you achieve the desired results while maintaining skin safety.
Common Ingredients for DIY Chemical Peel
Various ingredients can be used in DIY chemical peels, depending on your skin type and concerns. Some popular options include:
- Glycolic Acid – Derived from sugar cane, it's effective for exfoliating and brightening the skin.
- Lactic Acid – A gentle alpha-hydroxy acid that hydrates while improving texture.
- Salicylic Acid – Ideal for oily or acne-prone skin, it penetrates pores to unclog them.
- Citric Acid – Found in citrus fruits, it helps with brightening and evening out skin tone.
Choose an ingredient that aligns with your specific skincare goals and sensitivities.
Safety Precautions
While DIY chemical peels can be highly beneficial, it's important to prioritize safety:
- Always perform a patch test before applying the solution to your entire face.
- Follow the instructions on the product carefully to avoid overexposure.
- Protect your skin from sun exposure after the treatment by wearing sunscreen.
- Do not combine multiple chemical peels or other active ingredients without consulting a dermatologist.
By adhering to these precautions, you can reduce the likelihood of experiencing negative side effects.
Potential Risks and Side Effects
Although DIY chemical peels are generally safe, they can pose certain risks:
- Temporary redness, peeling, or irritation
- Increased sensitivity to sunlight
- Potential allergic reactions
- In rare cases, scarring or discoloration
If you notice any severe side effects, discontinue use and consult a healthcare professional immediately.
Tips for Best Results
To maximize the effectiveness of your DIY chemical peel:
- Stick to a consistent skincare routine that includes cleansing, moisturizing, and sun protection.
- Space out treatments according to the product's recommendations to allow your skin to heal.
- Stay hydrated and maintain a healthy diet to support overall skin health.
- Consider incorporating other skincare treatments, such as facials or masks, to complement your chemical peel.
By combining these practices, you can enhance the benefits of your DIY chemical peel.
Frequently Asked Questions
How often should I perform a DIY chemical peel?
It's generally recommended to perform a DIY chemical peel once every 1-2 weeks, depending on your skin's tolerance and the product's instructions.
Can I use a DIY chemical peel if I have sensitive skin?
Yes, but it's crucial to choose a mild formula and conduct a patch test first. Sensitive skin may benefit from lower concentrations of active ingredients.
Do I need to avoid makeup after a chemical peel?
It's advisable to avoid makeup for at least 24 hours after a chemical peel to allow your skin to heal and prevent irritation.
In conclusion, DIY chemical peels offer a convenient and effective way to improve your skin's appearance from the comfort of your home. By understanding the process, following safety guidelines, and selecting the right ingredients, you can achieve remarkable results. We encourage you to share your thoughts and experiences in the comments below and explore other informative articles on our website.
- Snadra Bullock Naked
- Smartest Women In The World
- Best Full Coverage Bathing Suits
- When Is Greys Back
- Kinky Home Videos
A Natural and Homemade Chemical Peel Recipe
DIY Chemical Peels Made Easy A Guide

Diy chemical peel Artofit
