How To Do Microdermabrasion At Home Without Machine: A Comprehensive Guide
Microdermabrasion is a popular skincare treatment that helps exfoliate the skin, revealing a brighter and smoother complexion. If you're looking for ways to achieve professional results without spending a fortune on salon treatments, doing microdermabrasion at home without a machine is a fantastic option. This method allows you to save money while still enjoying effective skincare routines in the comfort of your own home.
In this article, we'll explore how to perform microdermabrasion at home without relying on expensive machines. You'll learn about the benefits, step-by-step instructions, and essential tips to ensure safe and effective results. Whether you're a skincare enthusiast or someone new to the concept, this guide will provide everything you need to know.
From choosing the right products to understanding the science behind microdermabrasion, we've got you covered. Let's dive into the world of DIY skincare and discover how you can enhance your skin's radiance without breaking the bank.
- Blake Lively Hair Color
- Is Coach Having A Black Friday Sale
- Why Do Men Like Women On Top
- Strawberry Blonde Hair Medium Length
- Go Fug Yourself
Table of Contents
- What is Microdermabrasion?
- Benefits of At-Home Microdermabrasion Without a Machine
- Products You Need for DIY Microdermabrasion
- Step-by-Step Guide to Microdermabrasion at Home
- Safety Tips for Performing Microdermabrasion
- Common Mistakes to Avoid
- Comparison with Professional Microdermabrasion
- Cost-Effectiveness of DIY Microdermabrasion
- Frequently Asked Questions
- Conclusion
What is Microdermabrasion?
Microdermabrasion is a non-invasive skincare treatment designed to remove the outermost layer of dead skin cells. This process stimulates the production of collagen and elastin, leading to smoother and healthier-looking skin. Traditionally, microdermabrasion is performed using specialized machines found in dermatologist offices or spas. However, you can achieve similar results at home by using natural ingredients and manual techniques.
At-home microdermabrasion without a machine typically involves using exfoliating scrubs, facial brushes, or even DIY remedies. These methods mimic the effects of professional treatments by gently sloughing off dead skin cells and promoting cell turnover.
Benefits of At-Home Microdermabrasion Without a Machine
Performing microdermabrasion at home offers numerous advantages, including:
- When Is Greys Back
- What Is The Door Test
- Recommended Morphe Brushes
- Last Minute Romantic Gifts For Her
- Wedding Ben Falcone
Improved Skin Texture
By removing dead skin cells, microdermabrasion helps to refine the skin's texture, leaving it softer and smoother.
Reduced Appearance of Fine Lines and Wrinkles
Regular exfoliation stimulates collagen production, which can minimize the appearance of fine lines and wrinkles over time.
Enhanced Product Absorption
Clean, exfoliated skin allows skincare products to penetrate deeper, maximizing their effectiveness.
Additionally, at-home microdermabrasion is cost-effective, convenient, and customizable to suit your skin type and concerns.
Products You Need for DIY Microdermabrasion
Before you begin, gather the following essential items:
- Gentle facial cleanser
- Exfoliating scrub (preferably one containing natural ingredients like sugar or salt)
- Moisturizer with hydrating properties
- Sunscreen (to protect your skin post-treatment)
- Cotton pads or a soft washcloth
Optional tools include silicone facial cleansing brushes or konjac sponges, which can enhance the exfoliation process.
Step-by-Step Guide to Microdermabrasion at Home
Follow these steps to perform microdermabrasion safely and effectively:
Step 1: Cleanse Your Skin
Start by washing your face with a gentle cleanser to remove dirt, oil, and makeup. This ensures that the exfoliation process targets only dead skin cells.
Step 2: Apply the Exfoliating Scrub
Using circular motions, gently massage the scrub onto your skin for 1-2 minutes. Focus on areas with visible buildup, such as the forehead and nose, but avoid sensitive areas like the eye contour.
Step 3: Rinse and Pat Dry
Rinse your face thoroughly with lukewarm water and pat it dry with a clean towel. Avoid rubbing, as this can irritate freshly exfoliated skin.
Step 4: Moisturize and Protect
Apply a generous layer of moisturizer to hydrate your skin and lock in moisture. Finish by applying sunscreen to shield your skin from UV damage.
Safety Tips for Performing Microdermabrasion
While DIY microdermabrasion is generally safe, it's crucial to follow these precautions:
- Avoid over-exfoliating, as this can lead to irritation or damage.
- Test any new products on a small patch of skin before using them on your face.
- Stay consistent with sunscreen use to prevent post-exfoliation sensitivity.
Consult a dermatologist if you have specific skin concerns or conditions, such as rosacea or eczema, to ensure this treatment is suitable for you.
Common Mistakes to Avoid
Here are some common errors people make when performing microdermabrasion at home:
- Using harsh scrubs that can scratch or damage the skin.
- Exfoliating too frequently, which may cause redness or inflammation.
- Skipping moisturization, leading to dryness or flakiness.
By avoiding these pitfalls, you can enjoy a more comfortable and effective treatment.
Comparison with Professional Microdermabrasion
While professional microdermabrasion treatments offer deeper exfoliation and more advanced technology, DIY methods provide a convenient and budget-friendly alternative. The key difference lies in the intensity of the treatment: professional sessions may penetrate deeper layers of the skin, whereas at-home methods focus on surface-level exfoliation.
Both approaches have their merits, so it ultimately depends on your skincare goals and preferences.
Cost-Effectiveness of DIY Microdermabrasion
One of the primary advantages of performing microdermabrasion at home is its affordability. Instead of paying $50-$150 per professional session, you can invest in affordable skincare products that yield comparable results. Over time, this can translate into significant savings without compromising on quality.
Frequently Asked Questions
Q: How often should I perform microdermabrasion at home?
A: Limit your sessions to once or twice a week, depending on your skin's sensitivity and response to exfoliation.
Q: Can I use DIY remedies for microdermabrasion?
A: Yes, natural ingredients like sugar, honey, and yogurt can create effective homemade scrubs for gentle exfoliation.
Q: Is microdermabrasion suitable for all skin types?
A: While most skin types can benefit from microdermabrasion, those with sensitive or acne-prone skin should proceed with caution and consult a dermatologist if needed.
Conclusion
Microdermabrasion at home without a machine is an excellent way to enhance your skincare routine and achieve professional results on a budget. By following the steps outlined in this guide and adhering to safety precautions, you can enjoy smoother, brighter, and healthier-looking skin.
We encourage you to share your experiences or ask questions in the comments below. Don't forget to explore other informative articles on our site for more skincare tips and tricks. Remember, consistency is key when it comes to maintaining beautiful skin!
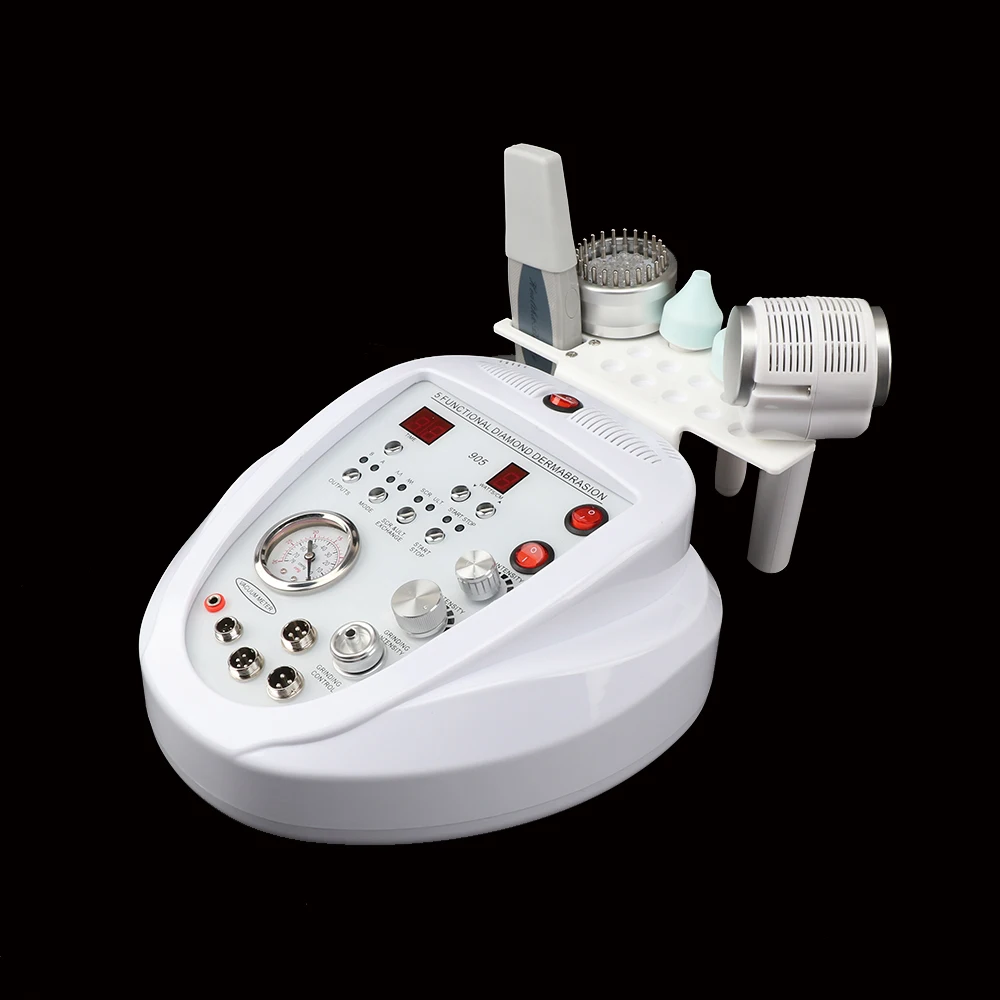
5 In 1 Diamond Microdermabrasion Machine Dermabrasion Anti Aging

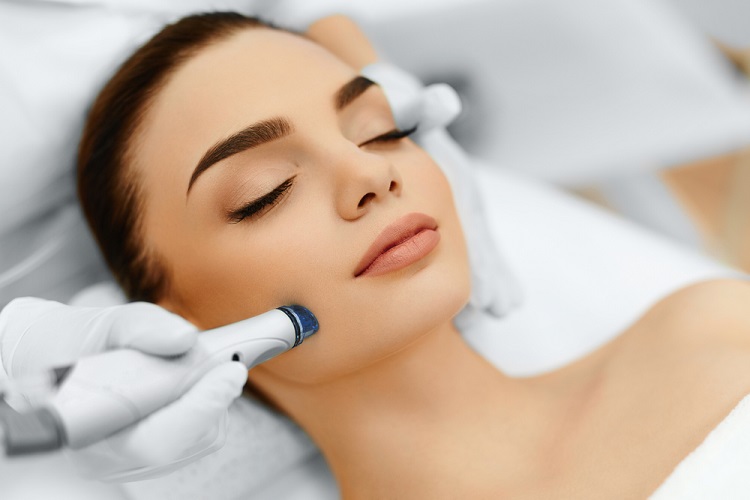
Learn How To Do Microdermabrasion At Home Successfully
How to Do a Microdermabrasion at Home Steps and Products
