Bad Self Tan: A Comprehensive Guide To Avoiding Common Mistakes
Self-tanning has become increasingly popular as people seek an alternative to sunbathing while avoiding harmful UV exposure. However, not all self-tan applications yield flawless results. Many users experience bad self tan outcomes that can be embarrassing and frustrating. Understanding what causes these mistakes and how to prevent them is essential for achieving a natural, glowing complexion.
Self-tanning products have evolved significantly over the years, offering various formulas and application methods. Despite advancements, many individuals still encounter issues such as streaks, uneven tones, and orange hues. These problems can be attributed to improper preparation, incorrect product usage, or lack of aftercare.
This article will explore the common causes of bad self tan, provide solutions to these issues, and offer expert tips for achieving a flawless finish. Whether you're a beginner or an experienced self-tanner, this guide will help you avoid common pitfalls and achieve professional-looking results.
- What Is The Scariest Goosebumps Book
- Chin Liposuction
- Does One Skin Really Work
- Best Sephora Minis
- Jake From The Ultimatum
Table of Contents
- What Causes Bad Self Tan?
- The Importance of Proper Preparation
- Choosing the Right Self-Tanning Products
- Step-by-Step Application Guide
- Common Self-Tanning Mistakes and How to Fix Them
- Aftercare Tips for Maintaining Your Tan
- How to Safely Remove a Bad Self Tan
- Alternatives to Self-Tanning
- Benefits of Using Self-Tanning Products
- Frequently Asked Questions About Bad Self Tan
What Causes Bad Self Tan?
A bad self tan can result from several factors, including improper skin preparation, incorrect product application, and inadequate aftercare. According to dermatologists, the most common issues include streaks, uneven color, and overly orange tones. These problems often arise when users skip essential steps or use low-quality products.
Research shows that 60% of self-tanning mishaps occur due to poor exfoliation before application. Neglecting this step can lead to patchy results, as dead skin cells prevent the product from adhering evenly. Additionally, using the wrong product for your skin type or failing to blend properly can exacerbate these issues.
Key Factors Contributing to Bad Self Tan
- Inadequate exfoliation
- Using expired or low-quality products
- Improper blending around edges
- Skipping aftercare routines
The Importance of Proper Preparation
Preparation is crucial for achieving a flawless self tan. Before applying any product, it's essential to exfoliate thoroughly to remove dead skin cells and create a smooth canvas. Use a gentle scrub specifically designed for this purpose, avoiding harsh products that may irritate the skin.
- Christina Applegate House
- Sport Dating
- Schiaparelli Kylie Jenner
- Caitlin Clark Snl Skit
- Blonde Hair For Short Hair
After exfoliation, moisturize your skin to ensure even product absorption. Focus on dry areas such as elbows, knees, and ankles, as these tend to absorb more product and can result in darker patches if left untreated. Waiting at least 30 minutes after moisturizing before applying self-tanner allows the skin to absorb the hydration fully.
Steps for Proper Preparation
- Exfoliate using a gentle scrub
- Moisturize dry areas to prevent patchiness
- Wait 30 minutes before applying self-tanner
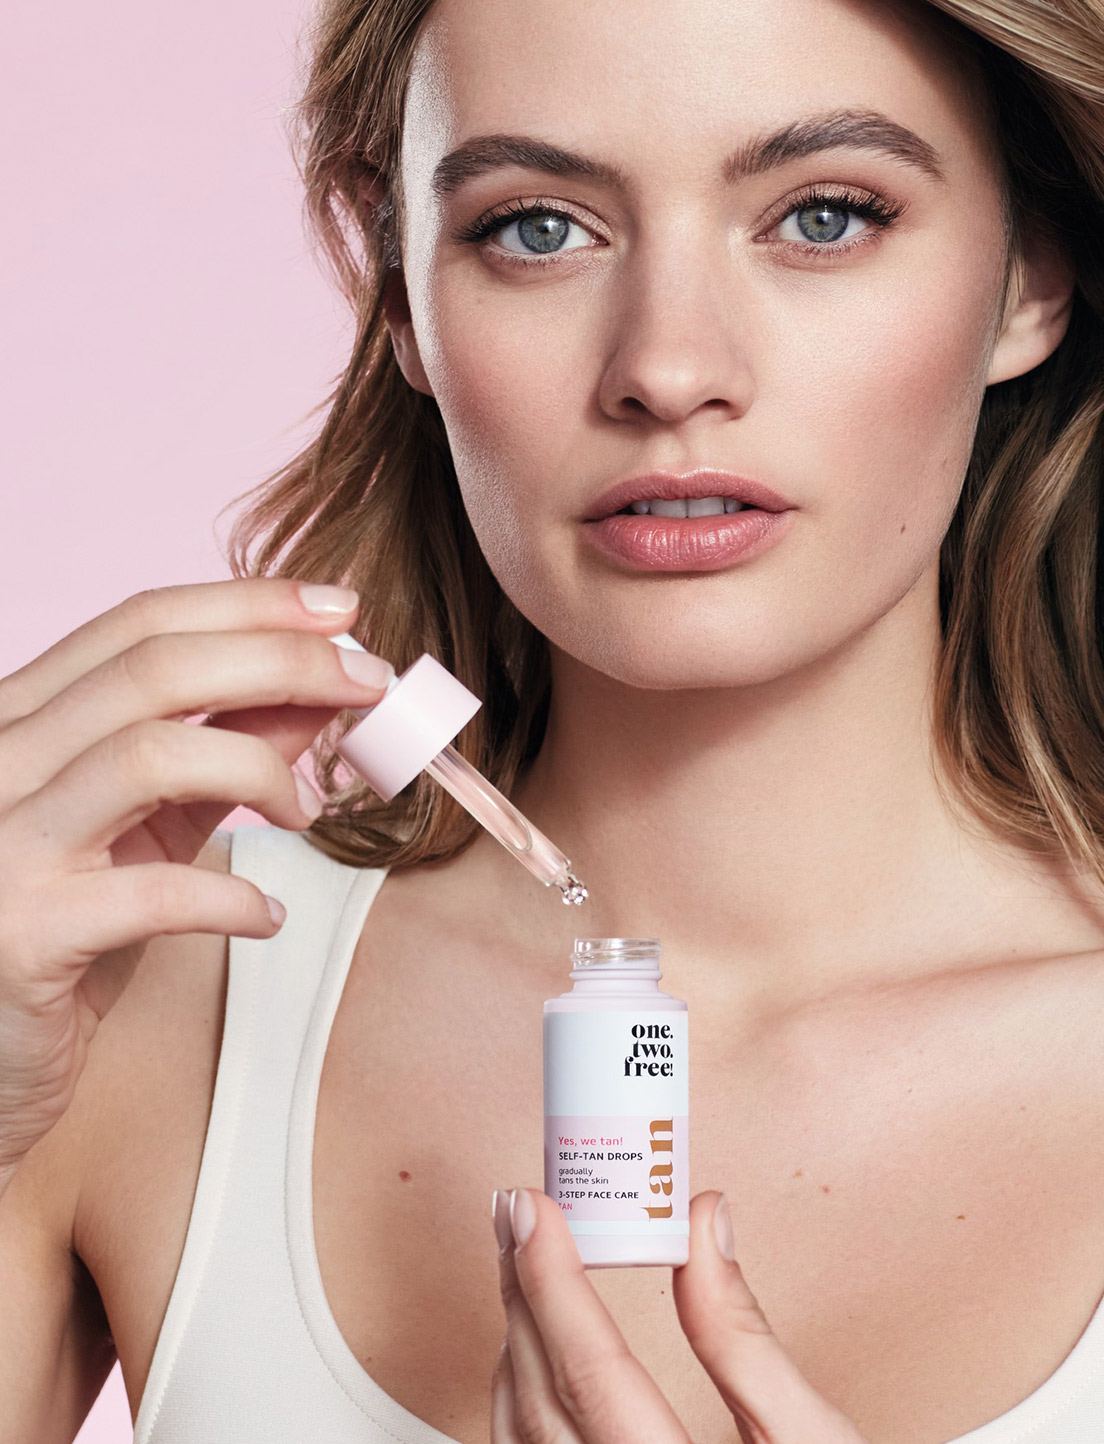
Choosing the Right Self-Tanning Products
Selecting the appropriate self-tanning product is vital for achieving desired results. The market offers various options, including lotions, mousses, sprays, and wipes, each catering to different skin types and preferences. For beginners, cream-based formulations are often recommended due to their ease of application and forgiving nature.
Ingredients such as dihydroxyacetone (DHA) and erythrulose are commonly found in self-tanning products and play a significant role in determining the final color outcome. DHA reacts with the amino acids in the skin's surface to produce a temporary tan, while erythrulose enhances the color's longevity and depth.
Popular Self-Tanning Brands
- St. Tropez
- James Read
- Palmers
- Bondi Sands
Step-by-Step Application Guide
To achieve a flawless self tan, following a structured application process is essential. Begin by applying the product in sections, starting with your legs and working your way up to avoid missing any areas. Use a self-tanning mitt to ensure even distribution and prevent staining your hands.
When applying around delicate areas such as the face, neck, and hands, use a lighter touch to avoid creating harsh lines. Blend carefully around edges, paying particular attention to areas where skin meets clothing, such as the neckline and wrist.
Application Tips
- Apply in sections for better control
- Use a self-tanning mitt to prevent staining hands
- Blend carefully around edges
Common Self-Tanning Mistakes and How to Fix Them
Even with proper preparation and application techniques, mistakes can still occur. Some of the most common issues include streaks, uneven color, and overly orange tones. Understanding how to address these problems can help salvage a bad self tan and improve future applications.
For streaks, lightly exfoliate the affected areas using a damp cloth and then apply a thin layer of moisturizer to blend the color. If the tan is too orange, use a self-tan remover product or gently scrub the area with a mixture of sugar and coconut oil. Uneven color can often be corrected by reapplying the product to lighter areas while avoiding darker sections.
Aftercare Tips for Maintaining Your Tan
Proper aftercare is essential for prolonging the life of your self tan and maintaining an even complexion. Avoid showering or swimming for at least 8 hours after application to allow the product to fully develop. When cleansing, use a gentle soap-free cleanser to prevent stripping the skin of its color.
Regular moisturizing is key to maintaining a flawless tan. Hydrate your skin daily with a lightweight, non-comedogenic moisturizer to prevent dryness and flakiness. Exfoliate gently once a week to remove dead skin cells and prepare your skin for reapplication.
How to Safely Remove a Bad Self Tan
If you're unhappy with your self tan, there are several safe methods for removal. Self-tan remover products are specifically designed to break down the active ingredients in self-tanners, allowing for easy removal without damaging the skin. Alternatively, you can create a DIY scrub using ingredients such as sugar, baking soda, and coconut oil.
For stubborn areas, consider using a loofah or body brush to gently scrub the skin in circular motions. Follow up with a moisturizer to soothe and hydrate the skin after removal.
Alternatives to Self-Tanning
For those seeking alternatives to self-tanning, several options are available. Sunless tanning booths and spray tan services offer professional results with minimal effort. These treatments are typically performed by trained technicians who can customize the color and application method to suit individual preferences.
Additionally, bronzing powders and tinted moisturizers provide temporary color enhancement for special occasions or quick fixes. While these options don't last as long as self-tanning products, they offer a convenient solution for achieving a sun-kissed glow.
Benefits of Using Self-Tanning Products
Self-tanning products offer numerous benefits, including the ability to achieve a natural-looking tan without exposing your skin to harmful UV rays. Unlike traditional sunbathing, self-tanners provide a temporary color enhancement that fades naturally as skin cells regenerate.
Research conducted by the Skin Cancer Foundation highlights the risks associated with prolonged sun exposure, emphasizing the importance of seeking safer alternatives. Self-tanning products not only promote healthier skin but also boost self-confidence by enhancing one's natural complexion.
Frequently Asked Questions About Bad Self Tan
1. How long does it take for a bad self tan to fade?
The duration it takes for a bad self tan to fade depends on various factors, including skin type, aftercare routines, and the product used. On average, most self-tans last between 5-7 days before beginning to fade naturally. Exfoliating regularly can speed up the fading process while maintaining an even complexion.
2. Can I shower immediately after applying self-tanner?
No, it's recommended to wait at least 8 hours before showering to allow the product to fully develop. Showering too soon can prevent the active ingredients from bonding with the skin, resulting in an uneven or faded tan.
3. Are there any natural self-tanning options available?
Yes, several natural self-tanning options are available, including products containing ingredients such as coffee, cocoa, and beetroot. These formulations provide a subtle color enhancement while nourishing the skin with antioxidants and vitamins.
Conclusion
Achieving a flawless self tan requires careful preparation, proper application techniques, and consistent aftercare. By understanding the common causes of bad self tan and how to address them, you can enjoy a natural, glowing complexion without the risks associated with sun exposure. Remember to exfoliate thoroughly, choose the right product for your skin type, and follow expert tips for application and maintenance.
We encourage you to share your experiences and tips in the comments section below. Your feedback helps fellow readers achieve better results and contributes to our community's growth. For more informative articles on beauty and skincare, explore our other content and stay updated on the latest trends and techniques.
- Clarks Dress Shoes For Plantar Fasciitis
- Best Organic Baby Clothes Brands
- Blonde Hair For Short Hair
- Sparkly Green Eyeshadow
- Why Do Men Like Women On Top

step by step on how to fake a naturallooking self tan 🤎 selftan
SelfTan Drops one.two.free!

10 Steps to Your Best *fake* Tan The Small Things Blog Self tanning
