DIY Nipple Clamps: A Comprehensive Guide To Crafting Your Own Body Jewelry
DIY nipple clamps have gained immense popularity among people who want to explore their body art and jewelry options without spending a fortune. Whether you're a beginner or an experienced crafter, creating your own nipple clamps at home can be a fun, cost-effective, and rewarding experience. With the right materials and techniques, you can design clamps that suit your unique style and preferences.
In today's world, where personalization and self-expression are highly valued, DIY body jewelry offers endless possibilities. This guide will walk you through everything you need to know about making your own nipple clamps, from selecting materials to assembling and customizing your creations. We'll also cover safety tips and answer common questions to ensure you have all the information you need to get started.
By the end of this article, you'll have a thorough understanding of the DIY nipple clamp process, empowering you to create stunning pieces that reflect your individuality. Let's dive in!
- Group Gift For Kids
- Blonde Hair For Short Hair
- Women S Perfume For Summer
- Taylor Swift Black And White
- Guy With Bangs
Table of Contents
- Introduction to DIY Nipple Clamps
- Choosing the Right Materials
- Essential Tools for Crafting
- Designing Your Clamps
- Step-by-Step Assembly Guide
- Customizing Your DIY Clamps
- Safety Tips and Precautions
- Cost Considerations
- Frequently Asked Questions
- Conclusion and Next Steps
Introduction to DIY Nipple Clamps
Why Choose DIY?
DIY nipple clamps provide a hands-on approach to creating body jewelry that fits your unique needs and aesthetic. By crafting your own clamps, you gain control over the design, materials, and functionality of your jewelry. This method is ideal for those who want to experiment with different styles or achieve a specific look without relying on mass-produced options.
Benefits of Making Your Own Clamps
Making your own nipple clamps offers several advantages, including:
- Cost savings compared to buying ready-made products.
- Customization options to match your preferences.
- Personal satisfaction from creating something unique.
- Learning new skills in crafting and jewelry making.
Whether you're a beginner or a seasoned crafter, DIY projects like this can enhance your creativity and confidence in designing body jewelry.
- Smartest Women In The World
- What Do You Call Your Partner When Engaged
- Airwrap Curly
- Leather Ballet Flats
- Solawave Eye Mask Reviews
Choosing the Right Materials
When it comes to making nipple clamps, selecting the right materials is crucial for both comfort and durability. Here are some popular options:
Common Materials Used in DIY Clamps
- Stainless Steel: Known for its strength and resistance to corrosion, stainless steel is a popular choice for body jewelry.
- Silicone: Soft and flexible, silicone is ideal for creating comfortable and hypoallergenic clamps.
- Leather: Offers a natural and stylish option for those who prefer organic materials.
- Plastic: Lightweight and easy to work with, plastic is suitable for beginners.
Consider factors such as skin sensitivity, durability, and aesthetics when choosing materials for your clamps.
Essential Tools for Crafting
To successfully create your own nipple clamps, you'll need a few basic tools. Here's a list of essentials:
- Measuring tape or ruler
- Pliers (flat-nose and needle-nose)
- Wire cutters
- Drill or hole punch
- Sanding paper or files
Having the right tools ensures precision and makes the crafting process smoother and more enjoyable.
Designing Your Clamps
Planning Your Design
Before diving into the crafting process, take some time to plan your clamp design. Consider the following elements:
- Size and shape
- Weight distribution
- Decorative features (e.g., beads, chains, or engravings)
Sketching your design on paper can help visualize the final product and make adjustments before starting the physical work.
Inspiration from Professional Designs
Look at existing nipple clamp designs for inspiration. Websites like Pinterest and Etsy offer a wealth of ideas and styles to draw from. Remember to adapt these designs to suit your personal taste and comfort level.
Step-by-Step Assembly Guide
Once you've gathered your materials and tools, it's time to assemble your nipple clamps. Follow these steps for a smooth process:
Step 1: Cutting the Material
Using your chosen material, cut out the base shapes for your clamps. Ensure they are symmetrical and of equal size for a balanced look.
Step 2: Drilling Holes
Drill or punch holes where the clamp's components will connect. This step is crucial for assembling the clamp mechanism.
Step 3: Assembling the Mechanism
Attach the clamp's hinges and springs using pliers and wire. Make sure the mechanism is secure and functions smoothly.
Step 4: Adding Decorative Elements
Personalize your clamps by adding beads, chains, or other decorative items. This step allows you to make your jewelry unique and stylish.
Customizing Your DIY Clamps
Customization is one of the best parts of making your own nipple clamps. Here are some ideas to enhance your creations:
Color Options
Experiment with different colors by painting your clamps or using colored materials like dyed leather or plastic.
Adding Embellishments
Consider adding charms, crystals, or engravings to give your clamps a luxurious look. These details can elevate the overall aesthetic of your jewelry.
Safety Tips and Precautions
Safety should always be a priority when crafting body jewelry. Follow these tips to ensure your DIY nipple clamps are safe to use:
- Test the clamps on a soft surface before using them on your body.
- Ensure all edges are smooth and free from sharp points.
- Choose hypoallergenic materials to prevent skin irritation.
- Store your clamps in a clean, dry place to maintain their quality.
By adhering to these guidelines, you can enjoy your handmade jewelry with peace of mind.
Cost Considerations
DIY nipple clamps can save you money compared to purchasing ready-made options. The cost will depend on the materials and tools you choose. On average, crafting your own clamps can cost anywhere from $5 to $20, depending on the complexity of your design.
Consider investing in high-quality materials and tools, as they will last longer and produce better results in the long run.
Frequently Asked Questions
Can I Use Any Material for DIY Nipple Clamps?
While you can experiment with various materials, it's essential to choose ones that are safe for skin contact and durable enough for everyday use. Stainless steel, silicone, and leather are excellent choices.
How Long Does It Take to Make DIY Clamps?
The time required depends on your experience level and the complexity of your design. On average, beginners can complete a pair of clamps in 2-3 hours, while experienced crafters may finish in less time.
Are DIY Clamps as Comfortable as Store-Bought Ones?
Yes, with proper design and material selection, DIY clamps can be just as comfortable, if not more so, than store-bought ones. The key is to focus on fit and functionality during the crafting process.
Conclusion and Next Steps
Making your own nipple clamps is a rewarding and cost-effective way to explore body jewelry. By following the steps outlined in this guide, you can create stunning pieces that reflect your personal style and preferences. Remember to prioritize safety and quality when selecting materials and tools.
We encourage you to share your creations with the community and provide feedback on your experience. Leave a comment below or explore other articles on our site for more crafting inspiration. Happy crafting!
- Wedding Ben Falcone
- Summer Nail Paint
- Jade Roller Vs Gua Sha
- What Do You Call Your Partner When Engaged
- Skunk Stripe Hair
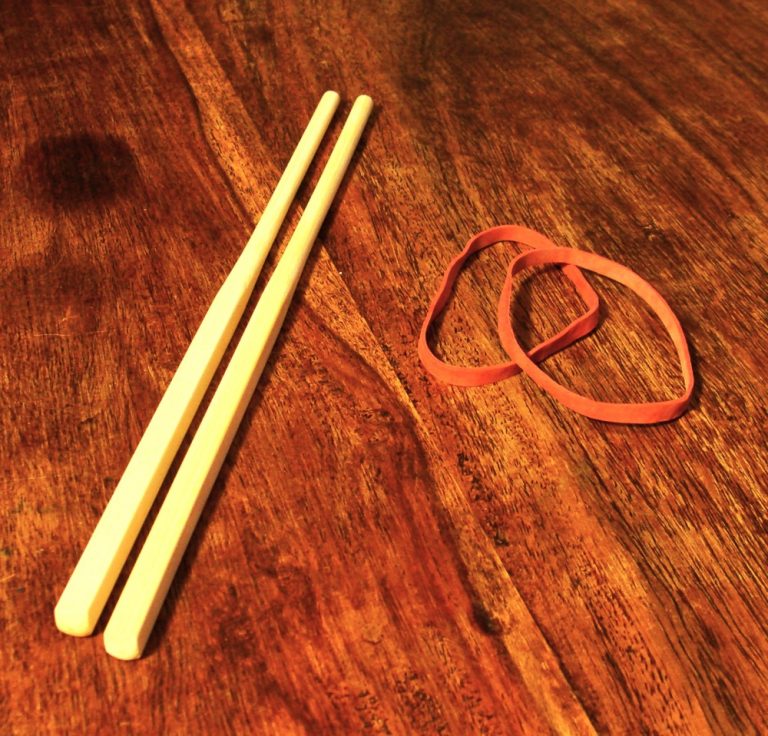
DIY Chopstick Nipple Clamps Howto Kinky Testers

DIY Chopstick Nipple Clamps Howto Kinky Testers

DIY Chopstick Nipple Clamps Howto Kinky Testers
